 littletoolz
🖼️ Want a whole PDF as one long image?
How to convert a multi-page PDF into one long PNG image
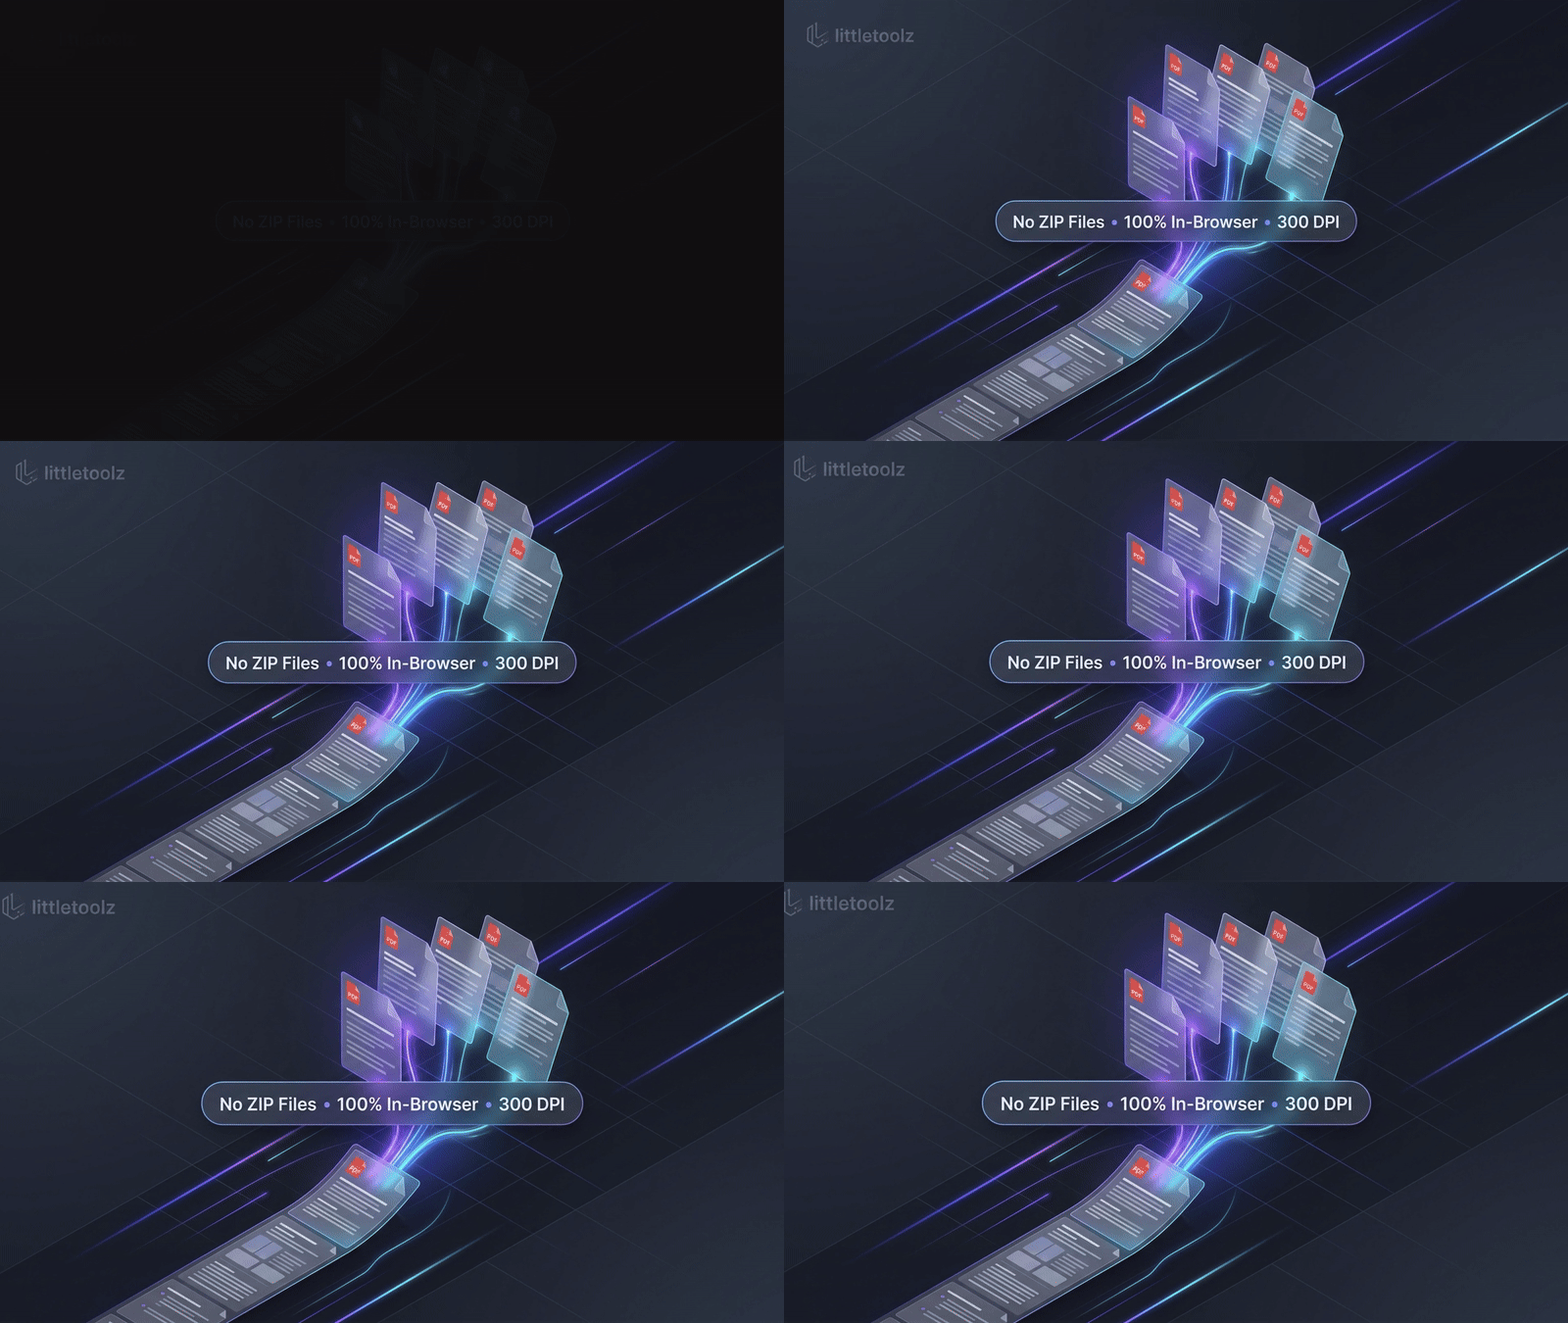
Convert every page of a PDF into a single continuous image, choose practical image quality and spacing, preview the result and save it.
Quick answer
The fix in 4 steps
Select Browse PDF and choose a multi-page PDF from your device, or drop it onto the upload area.
Keep 150 DPI for quick sharing or select 300 DPI when small text needs more pixels.
Choose seamless spacing or a divider gap, then choose the background color.
Select Convert, review the full image preview, and use Download 1 Long PNG.
What you get
Rendering and stitching happen in the browser using local memory. Your source PDF is not sent to a server. Extremely long documents can require substantial device memory; lower DPI or split the source when the browser cannot allocate enough space.
Go deeper
What 1File PDF to PNG is for
1File PDF to PNG is made for a specific job: Convert every page of a PDF into a single continuous image, choose practical image quality and spacing, preview the result and save it. It helps when that is the job in front of you, and the best way to begin is to choose the matching path rather than explore every feature. The main functions include combine all PDF pages into one continuous vertical PNG instead of a ZIP of separate images; choose 150 DPI for lighter sharing or 300 DPI for finer text detail; set page spacing and background to suit a seamless image or readable sections; preview the stitched image, zoom in or out and copy or open the output; process the file in your browser without sending it to a conversion server. Together, these capabilities support the ordinary journey from an input to a result you can inspect and use. The value of a small tool is not a long menu; it is reducing the number of choices between a task and its completion.
Features explained
1File PDF to PNG brings together several connected capabilities. Feature 1: combine all PDF pages into one continuous vertical PNG instead of a ZIP of separate images. In practice, this matters when you need a result that is easier to read, share, organize or verify. Start with the capability closest to your immediate goal, then use the supporting features only if needed. Feature 2: choose 150 DPI for lighter sharing or 300 DPI for finer text detail. In practice, this matters when you need a result that is easier to read, share, organize or verify. Start with the capability closest to your immediate goal, then use the supporting features only if needed. Feature 3: set page spacing and background to suit a seamless image or readable sections. In practice, this matters when you need a result that is easier to read, share, organize or verify. Start with the capability closest to your immediate goal, then use the supporting features only if needed. Feature 4: preview the stitched image, zoom in or out and copy or open the output. In practice, this matters when you need a result that is easier to read, share, organize or verify. Start with the capability closest to your immediate goal, then use the supporting features only if needed. Feature 5: process the file in your browser without sending it to a conversion server. In practice, this matters when you need a result that is easier to read, share, organize or verify. Start with the capability closest to your immediate goal, then use the supporting features only if needed.
How to use 1File PDF to PNG
Step 1: Select Browse PDF and choose a multi-page PDF from your device, or drop it onto the upload area. Step 2: Keep 150 DPI for quick sharing or select 300 DPI when small text needs more pixels. Step 3: Choose seamless spacing or a divider gap, then choose the background color. Step 4: Select Convert, review the full image preview, and use Download 1 Long PNG. Before opening any tool, name the outcome you want in one sentence. A short task statement keeps the workflow light: convert a document, find an answer, clean a page, or resume a piece of work. This is useful because a focused utility should reduce decisions, not add a new project. Pick only the settings that change the result you need. If the default is appropriate, keep it and move forward. A clear destination also makes it easier to recognize when the result is ready and stop fiddling with controls.
Choose the right input
The input determines what the tool can reasonably do. Use a source file or page you have permission to process, and make sure it is the intended version. Check that the file opens normally and is not damaged or locked in a way that blocks the operation. When a tool supports more than one input route, choose the one that preserves the content needed for your task. Avoid adding unrelated materials: less input usually means less waiting, fewer surprises and a result that is easier to inspect.
Understand the useful controls
Controls are there to resolve common tradeoffs. Quality can affect clarity and output size; ordering affects the story a reader sees; spacing can distinguish sections; and text controls change reading comfort. Change one setting at a time when the difference matters. This makes the result understandable and helps you return to a good setup later. A good default should already work for ordinary cases, so treat advanced options as optional adjustments rather than a checklist you must complete.
Preview before saving
A preview is the fastest way to catch an input or settings mistake. Check that the important content is present, in the expected order, and legible at the size where you plan to use it. For a long image or document, inspect the beginning, middle and end. Look for cut-off lines, unexpected blank areas, missing pages or content that is too small. If something is wrong, adjust one setting and preview again before you save or share the final copy.
Make the result easy to find
Use a short, descriptive output name that tells you what the file contains and, when helpful, the date or version. Save it where you expect to look for it later. Open the saved result once in its intended destination app; a successful download alone does not confirm that the file suits your next step. If the material is sensitive, share only the final result with the people who need it, and use the privacy details on the product page to understand how the tool handles input.
Common issues and practical fixes
If a file does not load, confirm its type and try opening it locally first. If the browser appears to stall, a large input or high-quality setting may exceed available memory; reduce quality or process a smaller portion. If text looks soft, increase output resolution and inspect the resulting file at a larger view. If content seems missing, check whether the source is password protected, scanned as an image, or restricted by the website. A clear error should guide the next step; avoid repeatedly clicking while a task is still running.
A quick repeatable workflow
A reliable routine is: identify the intended result, choose the smallest suitable input, accept the sensible default, make only the necessary adjustment, preview the output and save a clearly named copy. For recurring tasks, note which setting worked and the kinds of inputs that need extra care. This routine keeps the experience comfortably short while still giving you a quality check. If you are sharing the result, explain what changed and retain the original where that matters.
When this tool is a good fit
Use a focused tool when it directly shortens a routine task and its output format matches what you need next. It may not be the right choice when you need complex batch automation, formal document review, archival-grade accessibility checks or workflows that depend on a specialist desktop application. Check the feature list for current scope. For a one-off task, try a small sample first; for repeated use, verify the edge cases that matter to your work before relying on the workflow.
Frequently asked questions
Does the workflow require learning a large interface? No: start with the primary action and use additional controls only when they help the result. Can I trust an output without reviewing it? You should preview and open the saved result, especially when the source is important. What if a feature is not available? Check the current product page; some LittleToolz projects are still in development. Will account creation be required? The tools and optional account features vary, and the relevant page explains the current access path.
The takeaway
The best utility experience respects your attention: one clear first action, useful defaults and a visible result. Keep your goal specific, inspect the result and save it intentionally. The feature list and walkthrough above are designed to help you use the tool confidently without turning a small task into a long process. For current availability and the actual controls, open the linked product page. Product status can change, so the live page remains the source for what is available today.
Using 1File PDF to PNG well
Rendering and stitching happen in the browser using local memory. Your source PDF is not sent to a server. Extremely long documents can require substantial device memory; lower DPI or split the source when the browser cannot allocate enough space. The current product page is the source for supported platforms, release status and any changes to the interface. Use these notes as a practical orientation: keep the goal clear, make the smallest useful change, check the result and decide whether it is ready for your next step.
More ways to save time
🚀 What next?
Ready? Do it in a minute.
1File PDF to PNG is ready to use.